
pingtsai
[PuristSPro Moderator]
2063

Bulgari Dial-Making: If You Ever Wondered How Dials Are Made
The dial is possibly the single most important visual element on a wristwatch. As a crucial distinguishing factor it holds the identity of the watch and is quite often the initial point of contact by which the watch greets its wearer. Many of the recent watch dials from Bulgari have been impressive to say the least adding the absolute finest in artistry and hand crafted precision to an already labor intensive process. With its acquired capabilities in dial production alongside cases and bracelets, Bulgari completes the lineup of necessary resources to skillfully fashion every part of a watch’s external assets.
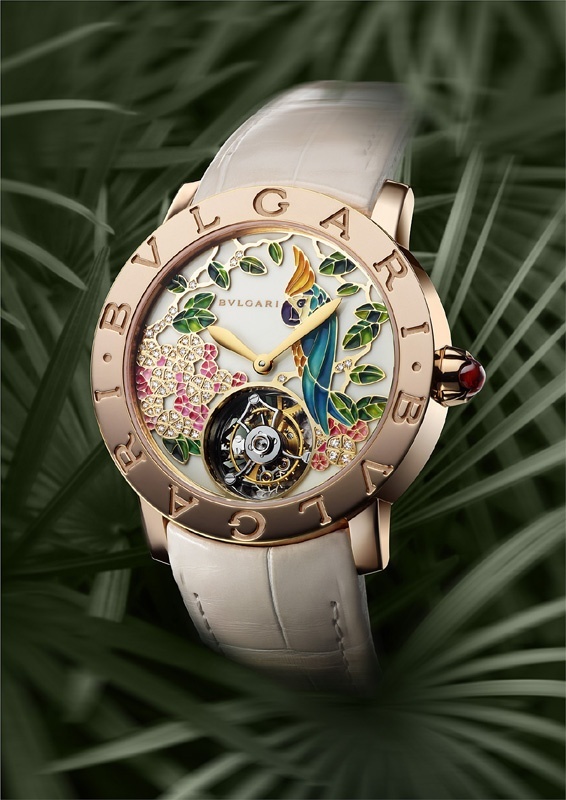
Watches that were released last year including Il Giardino Tropicale di Bulgari, the Commedia dell’Arte Collection featured intricate miniature painting and mother-of-pearl work. Creating these exquisite works of art is no simple task but Bulgari seems to be getting better and better at it. Of course it helps when you’ve got some of the best dial-makers working for you. Let’s take a closer look at dial-making at Bulgari.
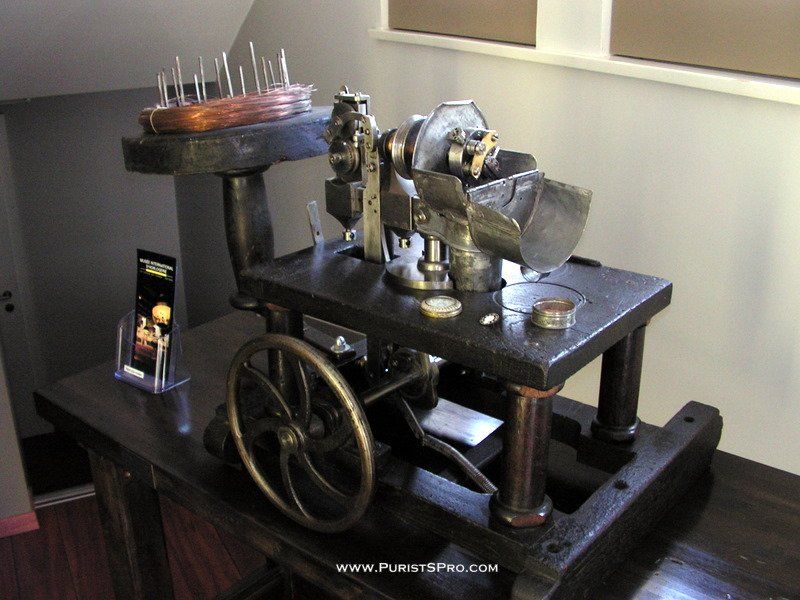
In the entry hall we are already confronted with some history. A machine to make dial feet from the year 1880.
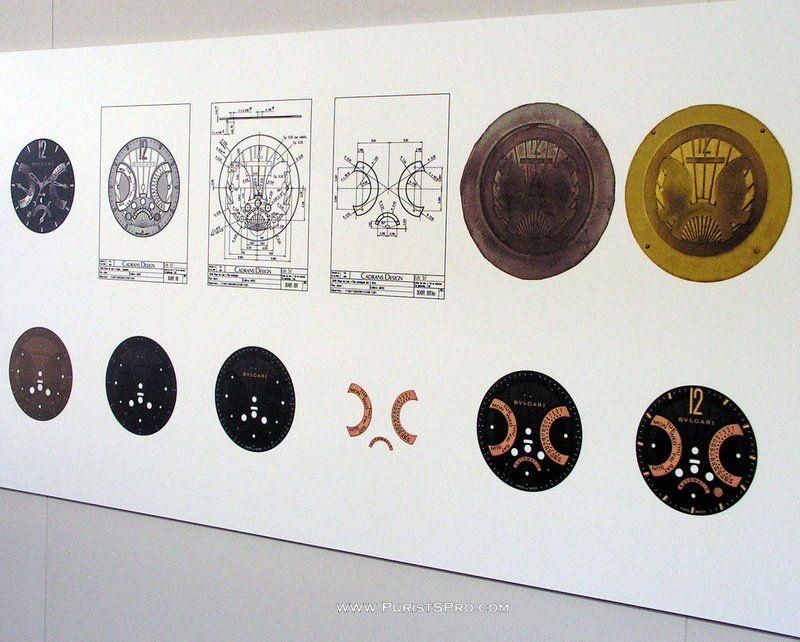
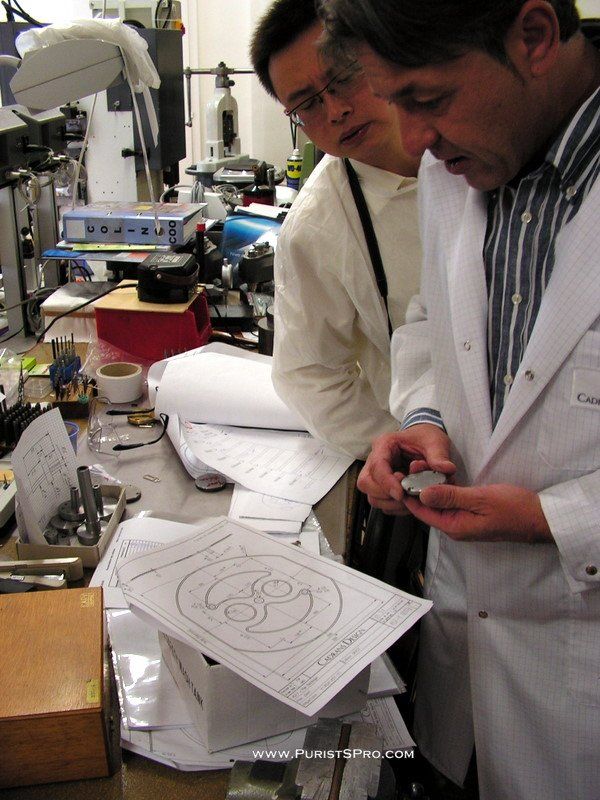
This presentation board tells the whole story of a dial. From the upper left, the idea of the designer, going to the right through the stages of making a final design, the technical drawings, the stamp tested on a lead blank, stamping, drilling, decoration and surface treatment. Finally the inserts are made and assembled on the dial.
The tools are all made in house at Cadrans Design even though the stamping is done externally. For some reason these companies are wary of 150 ton presses. On the ground floor we find the shop with the usual panoply of lathes and milling machines.
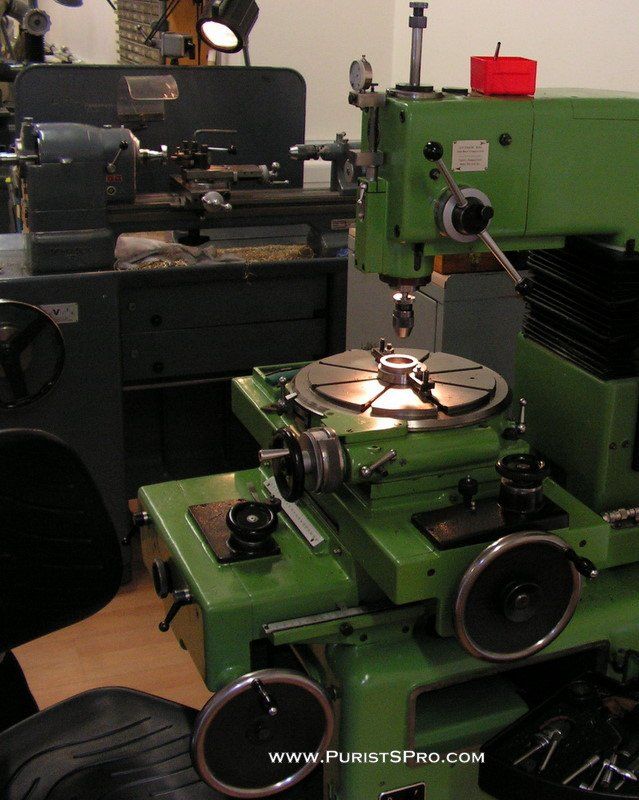
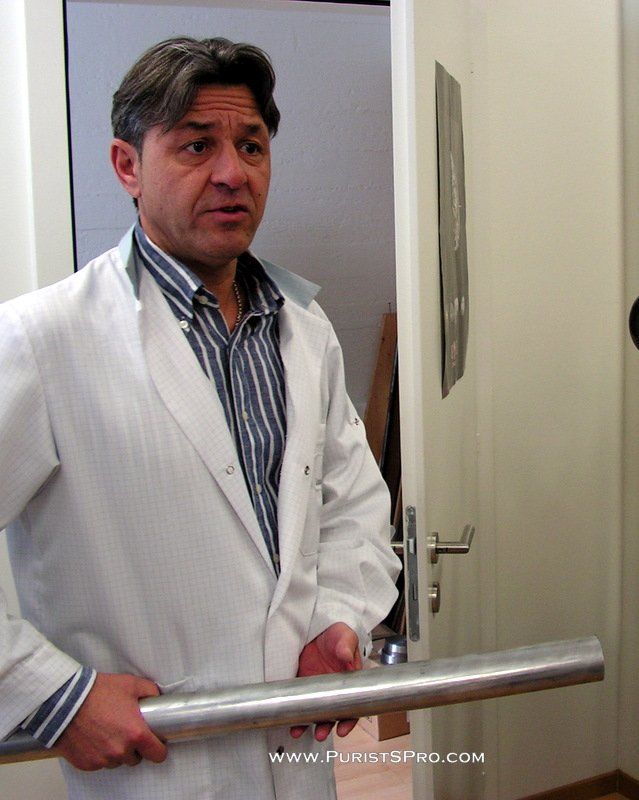
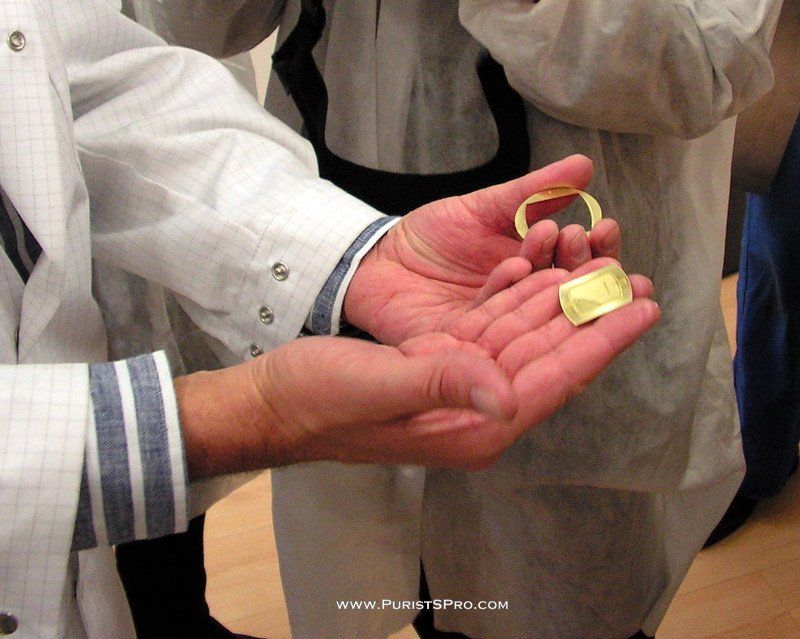
The raw material for the stamps is the steel bar.
Here we see a fixture for holding a dial for one of the process steps. The fixture has holes to accept the dial feet, which position the dial, vacuum channels to hold the dial to the fixture and extractors which push the dial out from behind so that it is not necessary to touch the dial from the front to get it out. These kind of fixtures and the stamps are all made here in the toolmakers shop.
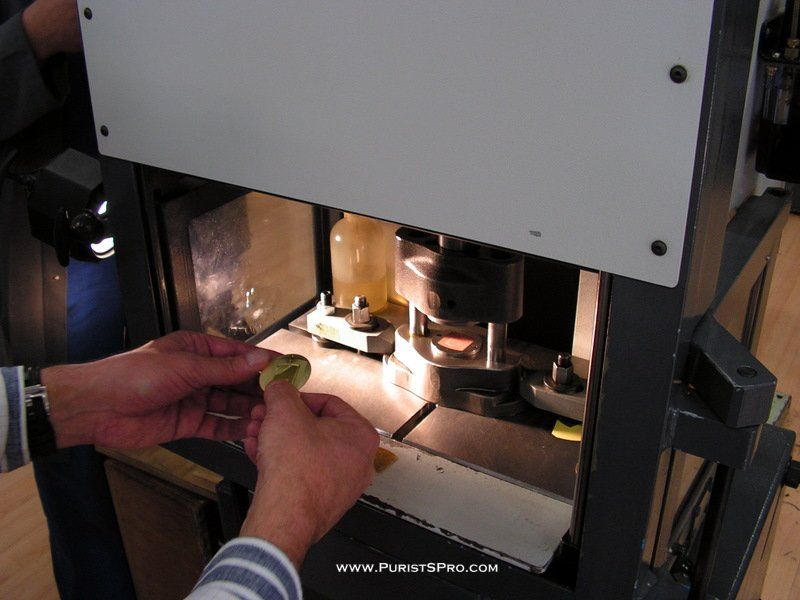
Here on a small press a tool is being tested to cut out the final dial shape from the blank.
This machine welds the dial feet on the back of a dial by spot welding.
Now we move up a floor to see the surface treatment of the dials.
Although this area is not technically a clean room similar precautions are used to prevent the ingress of dust particles that could deface a dial. The shops are under a slight positive pressure with filtered air. Antistatic coats and footware are required.
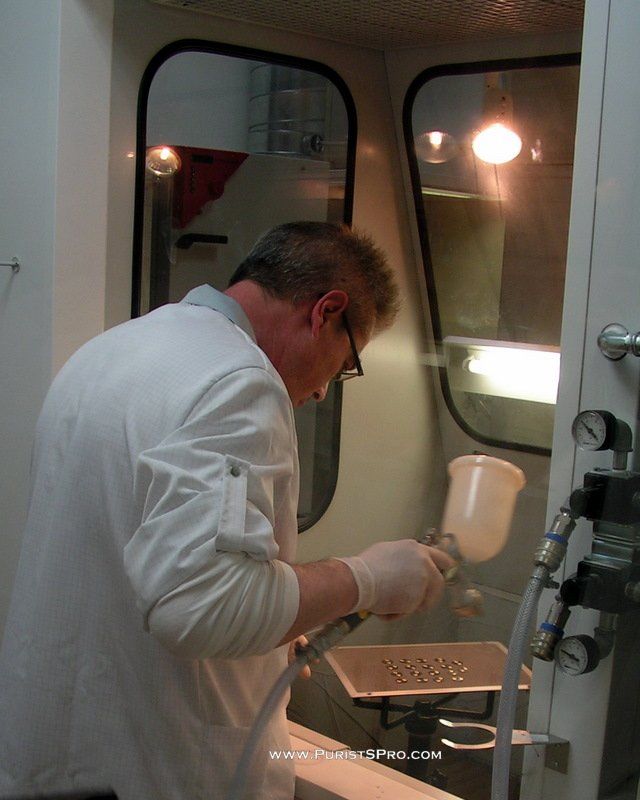
Here we see dials being painted in a special booth.
This is the galvanic shop for electroplating. The shop is run by a trained and certified master plater and is equipped for plating silver, gold, rhodium and ruthenium and other metals.

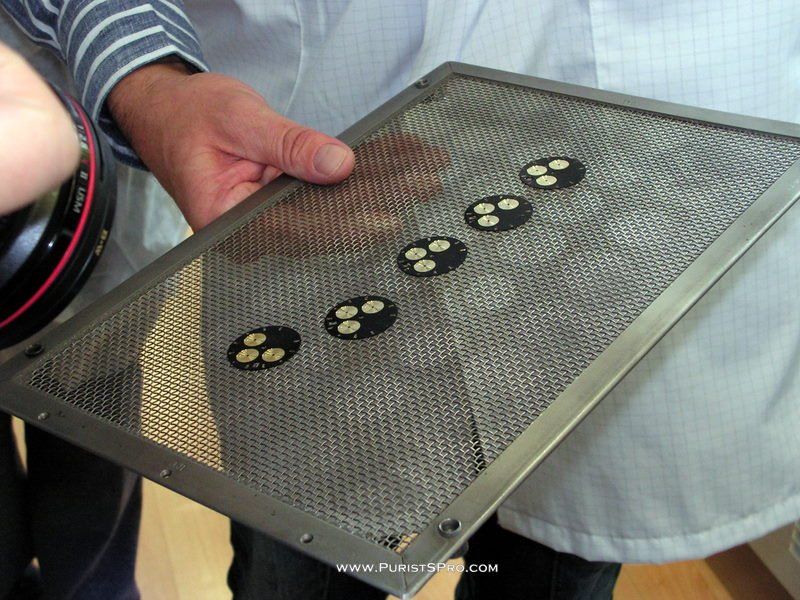
These dials have been silver plated.
Here the dials are being cleaned after plating

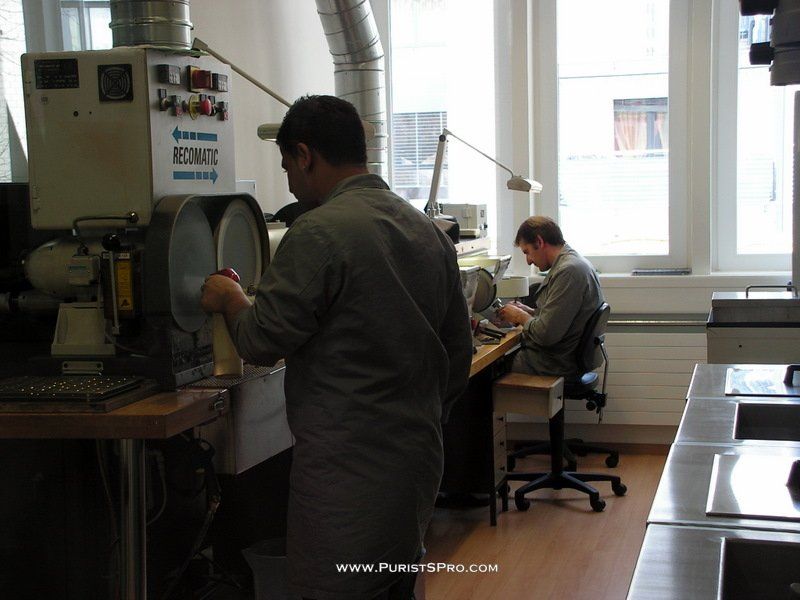
The polishing and grinding shop.
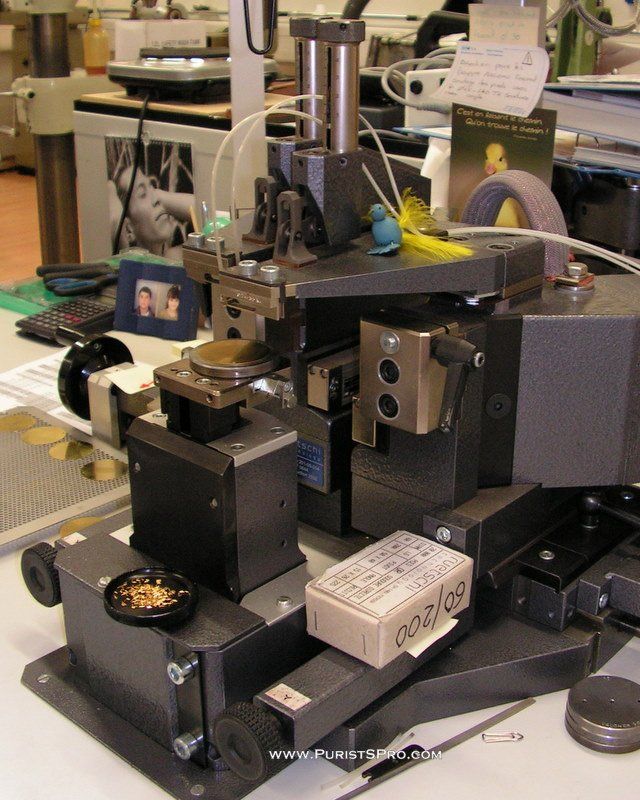
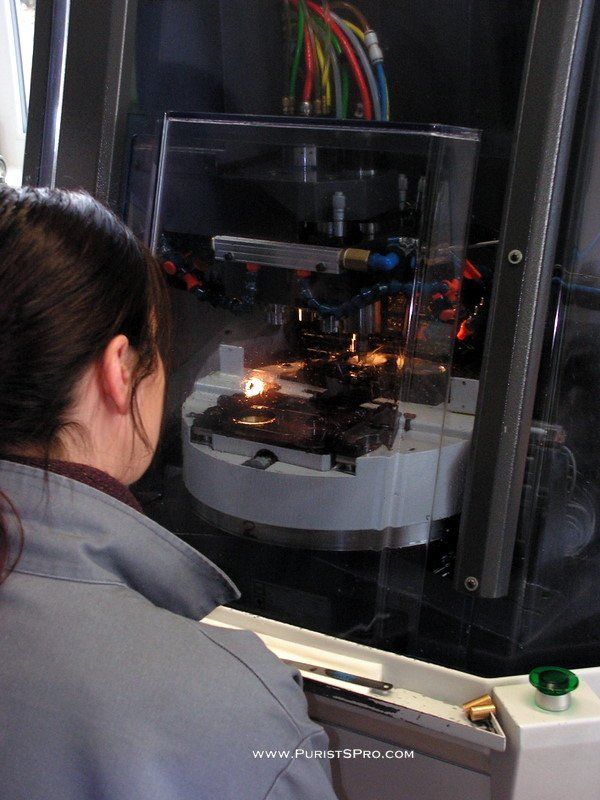
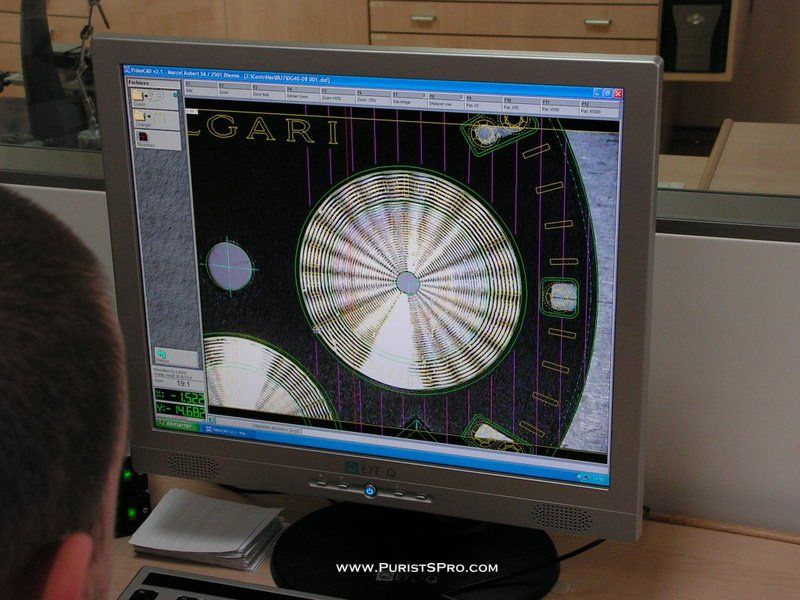
On this machine run under CN control the chrono counter dials are decorated using a diamond-tipped tool.
Here we see how the work piece is being controlled on an optical measurement system to be sure that all is perfect.

Here mother-of-pearl dials are being cut. Openings for the chrono counter dials, the hands, the date window and places for diamond settings at the hour markers.

The thinner inserts for the chrono counters are being cut out of a piece of mother of pearl here.

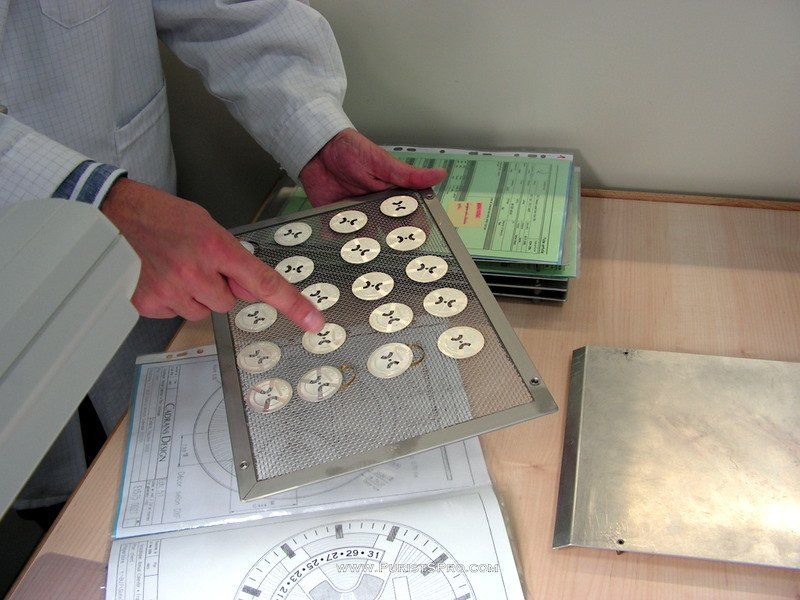
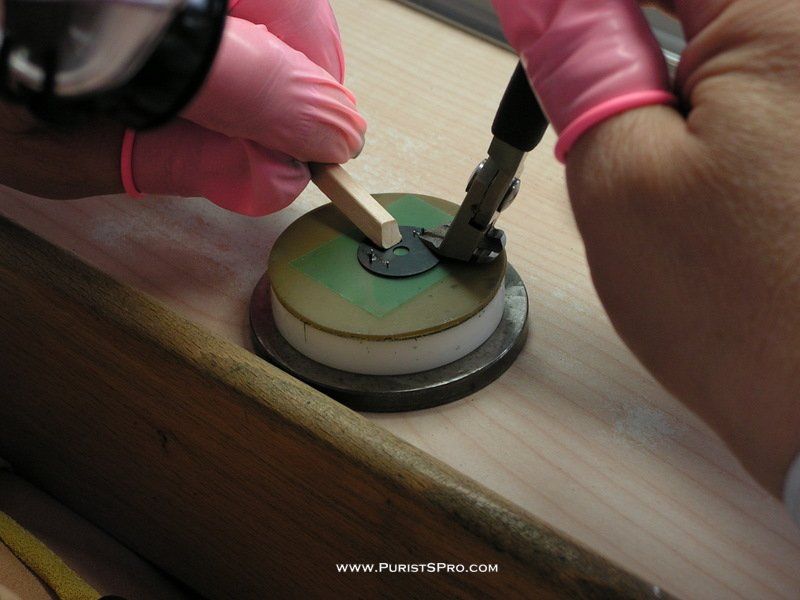
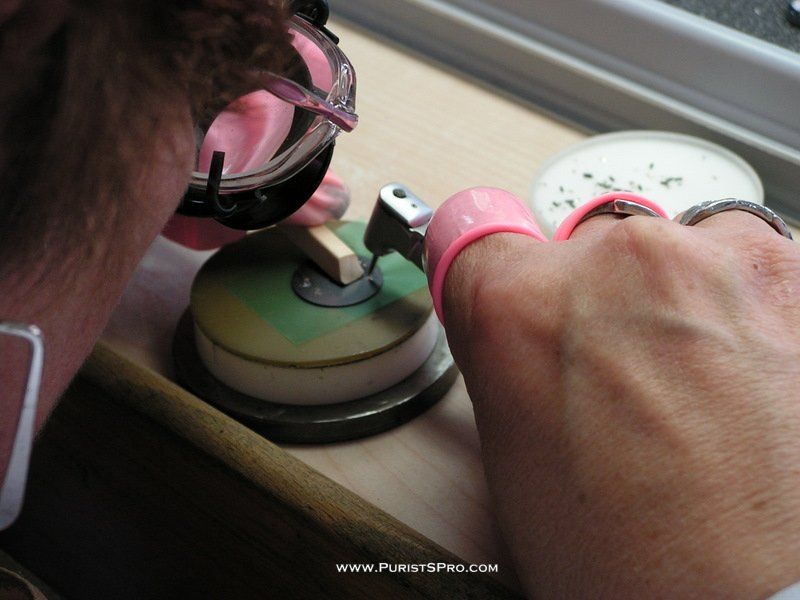
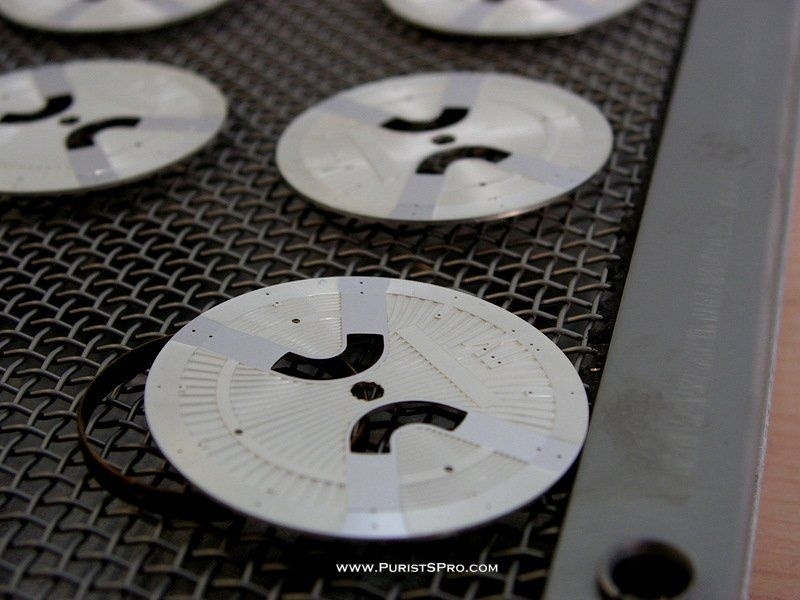
The last step that we see is mounting of indexes and inserts on the dial. The indexes and inserts all have at least 2 feet that hold the insert on the dial. The diameter of the feet is about 0.15mm. In the first picture we see that the insert is held to the dial with a weak sticky tape, then while holding the dial down the insert feet are clipped off at the level of the dial.
The final step is riveting the feet on the back of the dial, after which the tape can be removed and the piece is finished.
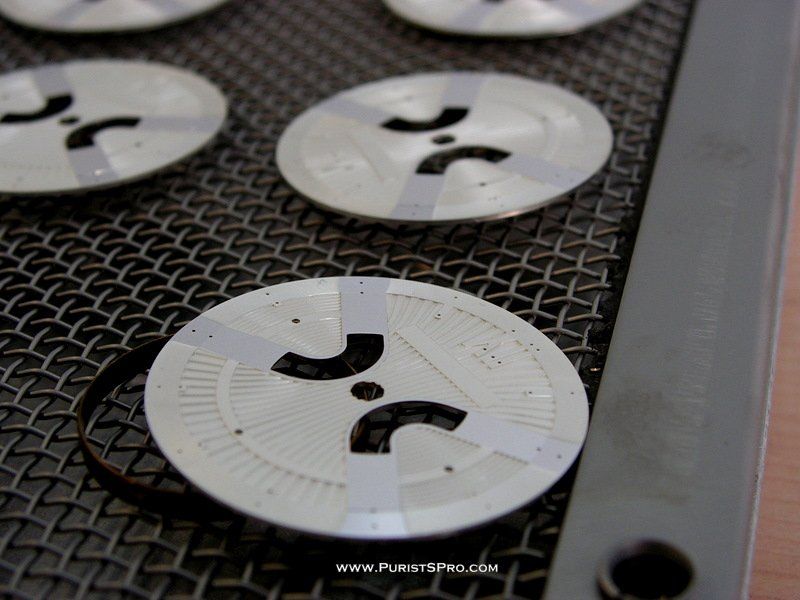
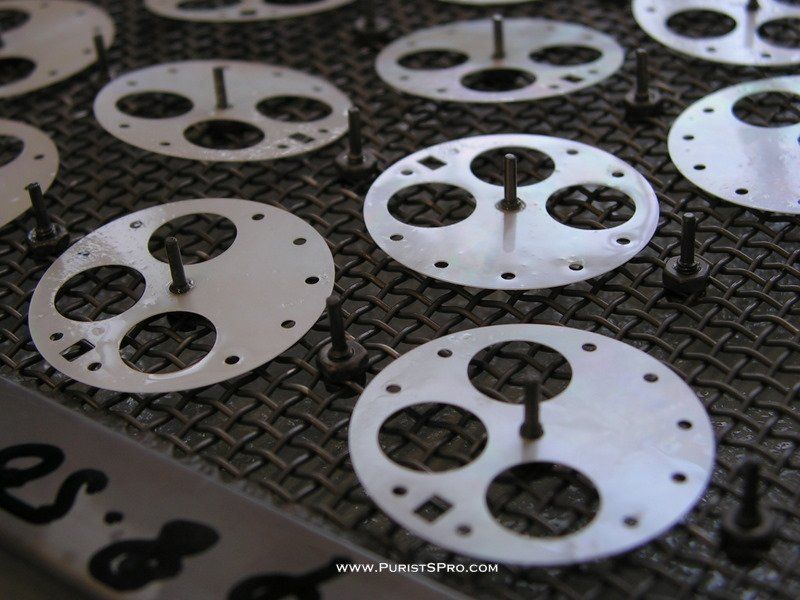
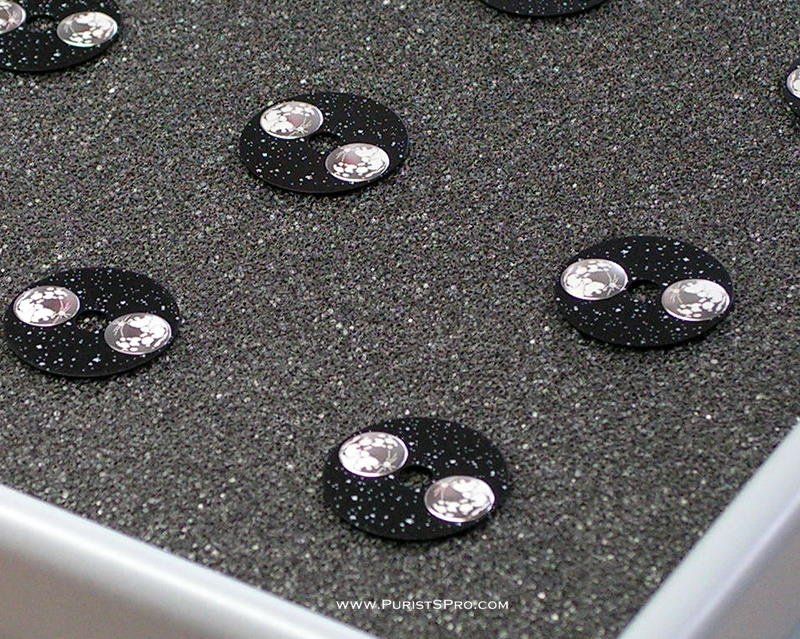
These pieces are moon phase disks, the insert is the moon.
Bulgari Dial-Making: If You Ever Wondered How Dials Are Made

Thank you for this true educative post ...
Wonder what fluid that is..
